
Deep Frying Chicken Legs: Mastering the Basics
Before we dive into the intricacies of deep frying chicken legs, let’s set the stage for what promises to be a flavorful journey. This guide will explore the nuances of achieving perfectly crispy and succulently juicy chicken legs, focusing on the precise timings, temperatures, and techniques. Whether you’re a novice looking to fry up your first batch or a seasoned cook aiming to perfect your method, this article will provide all the insights you need.
Introduction to Deep Frying Chicken Legs
Choosing the Right Chicken Legs
When it comes to deep frying, not all chicken legs are created equal. Opting for fresh chicken legs can make a significant difference in the final outcome. Frozen legs need to be thoroughly thawed and dried to prevent oil splatter and achieve a crisp coating. To start, ensure your chicken legs are room temperature to ensure even cooking.
Necessary Ingredients and Tools
To embark on your frying adventure, gather the following:
- Ingredients: Start with high-quality chicken legs, and don’t skimp on the seasonings. A dash of salt, pepper, and paprika can elevate the natural flavors. For an extra kick, garlic powder and onion powder are splendid additions.
- Tools: A reliable deep fryer or a sturdy pot, a candy or deep-fry thermometer, and tongs are essential. These tools help maintain the right temperature and ensure safety while cooking.
Pre-frying Preparations
Cleaning and Drying: Begin by rinsing your chicken under cold water and pat it dry thoroughly. This step is crucial for removing any impurities and moisture that could interfere with the frying process.
Marinating or Seasoning: If time allows, marinating your chicken in buttermilk or a spice mix can add depth to the flavor. Ensure every leg is evenly coated and allow them to marinate for at least an hour. This not only seasons the chicken but also tenderizes it, enhancing the texture.
By adhering to these initial steps, you set the stage for frying success. In the next part, we’ll delve into the frying process itself, ensuring you achieve that irresistible crunch and juicy interior that make fried chicken a perennial favorite.
Deep Frying Techniques
Oil Temperature and Type
Choosing the right oil is critical for frying chicken legs to perfection. Oils with a high smoke point, such as vegetable oil, peanut oil, or canola oil, are ideal for maintaining the necessary heat without burning. Aim to heat your oil to a steady 350-375°F, as this range allows the chicken to cook thoroughly without absorbing too much oil.
Step-by-Step Frying Guide
- Heating the Oil: Pour the oil into your deep fryer or pot, ensuring there’s enough to completely submerge the chicken legs. Use your deep-fry thermometer to monitor the temperature accurately.
- Seasoning the Drumsticks: While the oil heats, season your chicken legs liberally with your chosen spices. For an even more flavorful crust, consider dredging the seasoned chicken in a light coat of flour or cornstarch.
- Frying the Chicken: Once the oil reaches the correct temperature, carefully lower the chicken legs into the fryer using tongs. It’s crucial to fry in batches to avoid overcrowding, which can lower the oil’s temperature and lead to soggy chicken.
- Monitoring the Fry: Fry each batch for about 12-15 minutes, or until golden brown and an internal temperature of 165°F is reached, indicating they are safely cooked through.
Safety Tips While Frying
Frying can be dangerous due to the hot oil involved. Always keep a lid nearby to cover the pot in case of splatter or flare-ups. Never leave the fryer unattended, and use long-handled tongs to manage the chicken safely. By following these precautions, you can prevent most accidents and ensure a safe cooking environment.
In this part of our guide, we’ve covered the technical aspects of frying chicken legs, ensuring they come out perfectly crispy each time. As we move forward, we’ll discuss how to determine the right cooking times and temperatures for your specific setup, guaranteeing every piece is just as delightful as the last.
Perfecting the Timing and Temperature
How Long to Deep Fry Chicken Legs
The key to succulent fried chicken lies in the frying time. Typically, chicken legs should be fried for about 12-15 minutes. However, these times can vary slightly based on the size of the chicken legs and the exact temperature of your oil. It’s essential to maintain a consistent oil temperature throughout the cooking process to ensure each leg cooks evenly and ends up deliciously crispy.
Checking for Doneness
Ensuring your chicken is fully cooked is crucial for both safety and quality. Using a meat thermometer is the most dependable technique:
- Internal Temperature: The internal temperature of the chicken should reach at least 165°F. Insert the thermometer into the thickest part of the leg without touching the bone to get an accurate reading.
- Visual Cues: The crust should be golden brown and crisp, and the juices should run clear when the meat is pierced with a knife.
Using these indicators will help you achieve perfectly fried chicken legs every time, avoiding the common pitfalls of undercooking or overcooking.
Now that you know how to manage the frying time and check for doneness, the next section will focus on what to do once your chicken legs are out of the oil. Proper draining and resting are crucial steps to retain that perfect crunch and juicy interior.
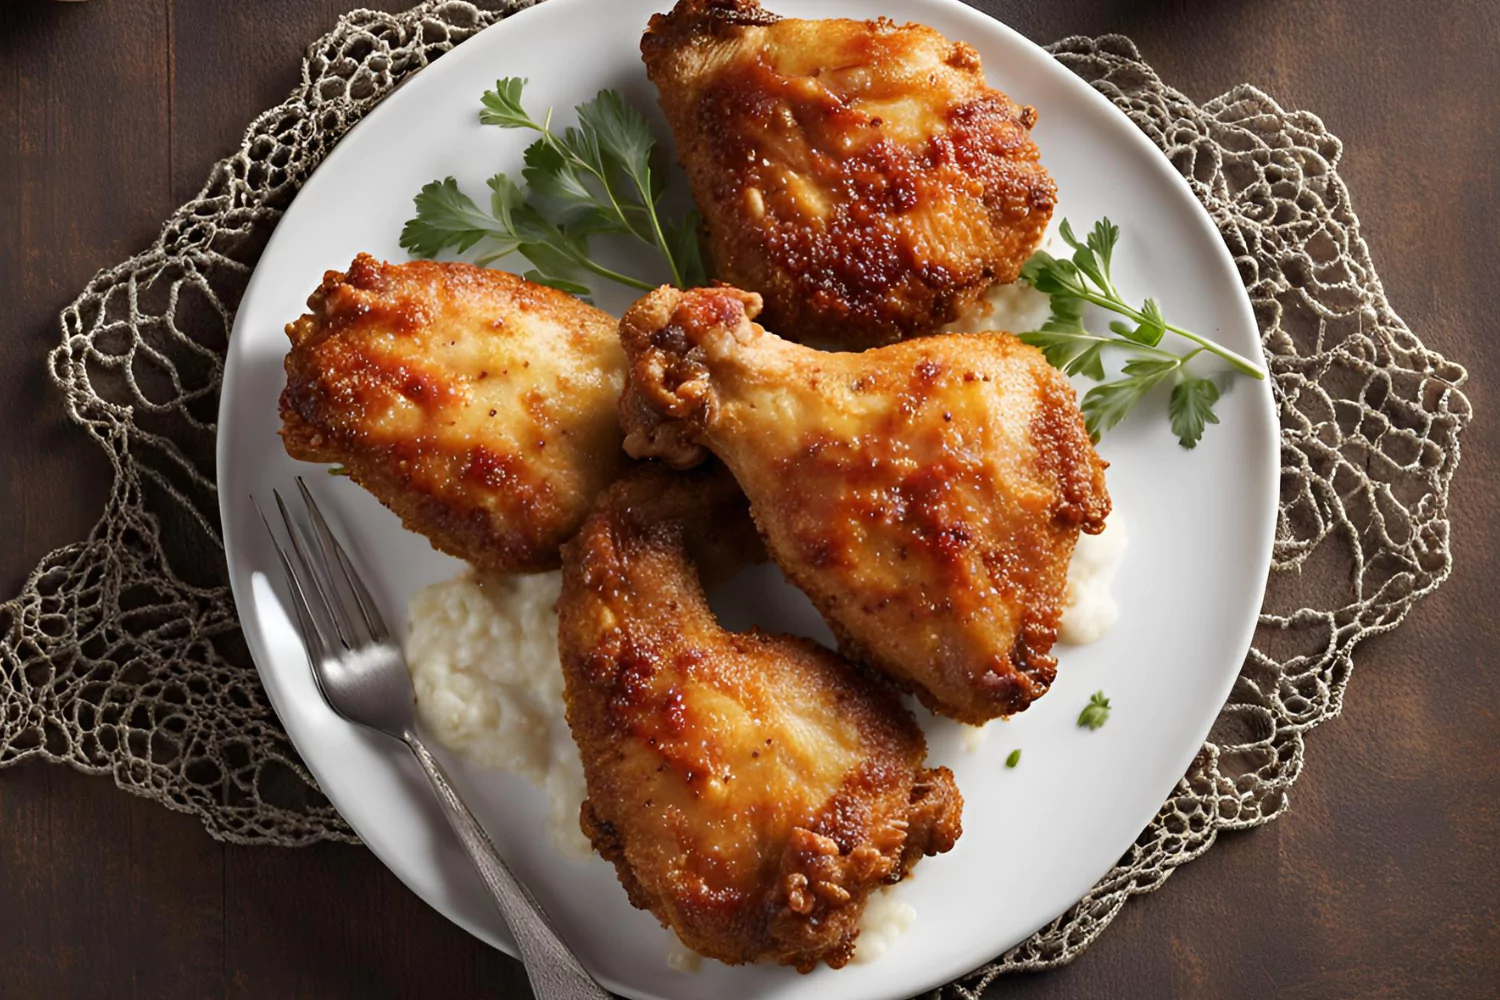
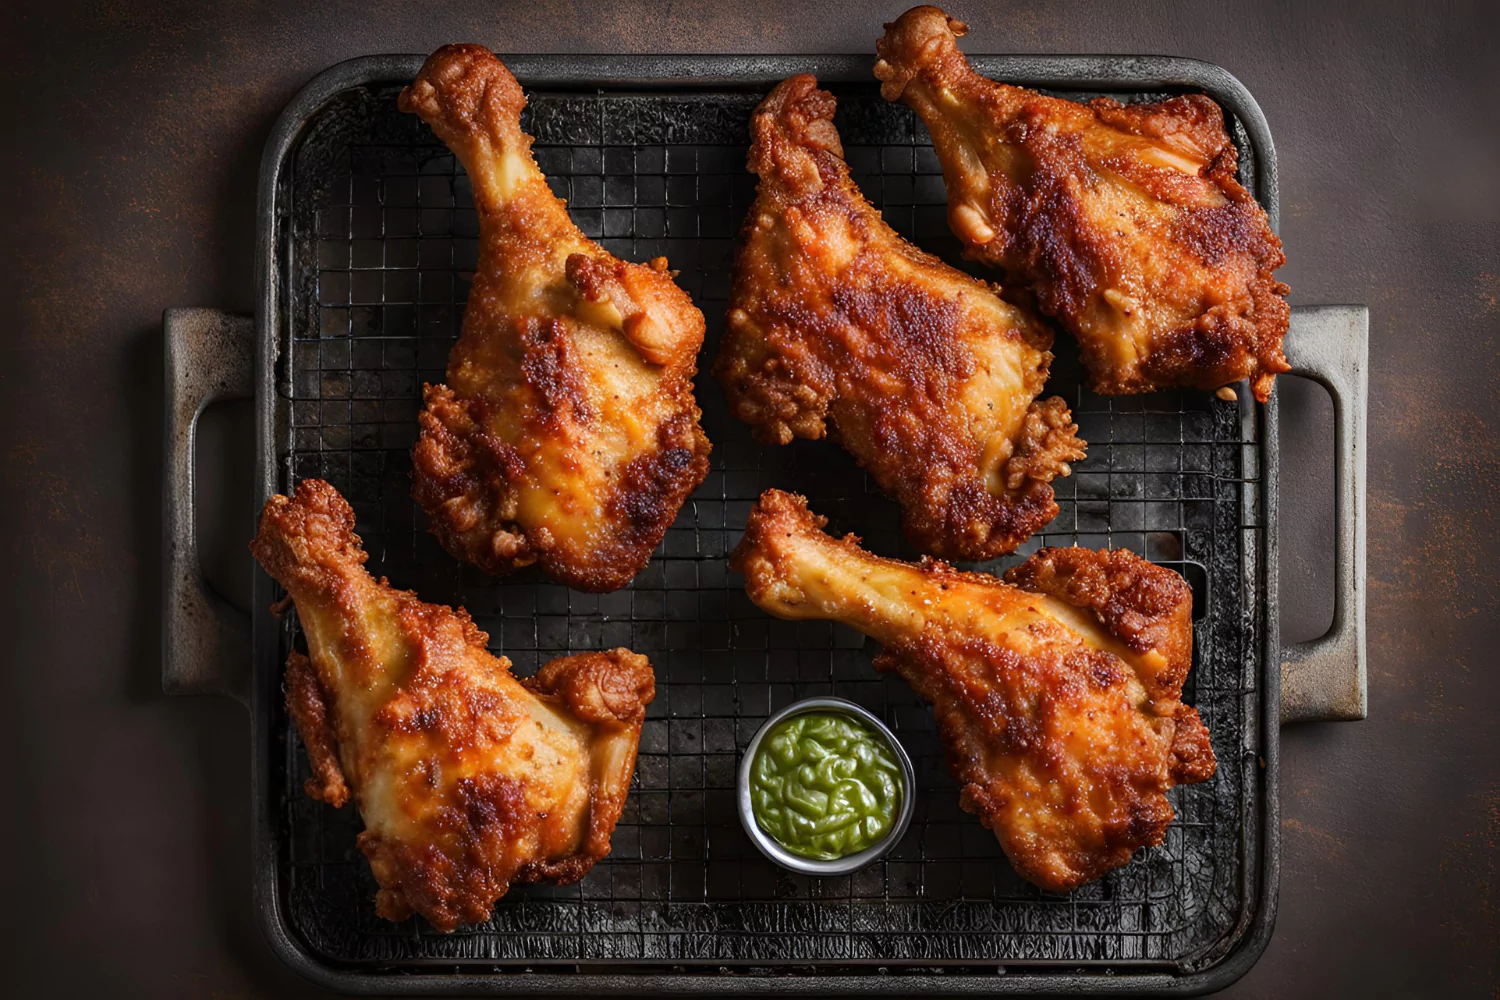
What to Do After Frying
Draining and Resting
Once your chicken legs are golden and cooked through, the next steps are crucial for maintaining that crisp perfection:
- Draining the Oil: Immediately after removing the chicken from the fryer, use a slotted spoon or tongs to transfer them to a wire rack set over a baking sheet. This setup allows excess oil to drain away without making the chicken soggy, which can happen if they’re placed directly on paper towels.
- Resting: Let the chicken rest for a few minutes before serving. This brief period helps the juices redistribute throughout the meat, ensuring that each bite is moist and flavorful.
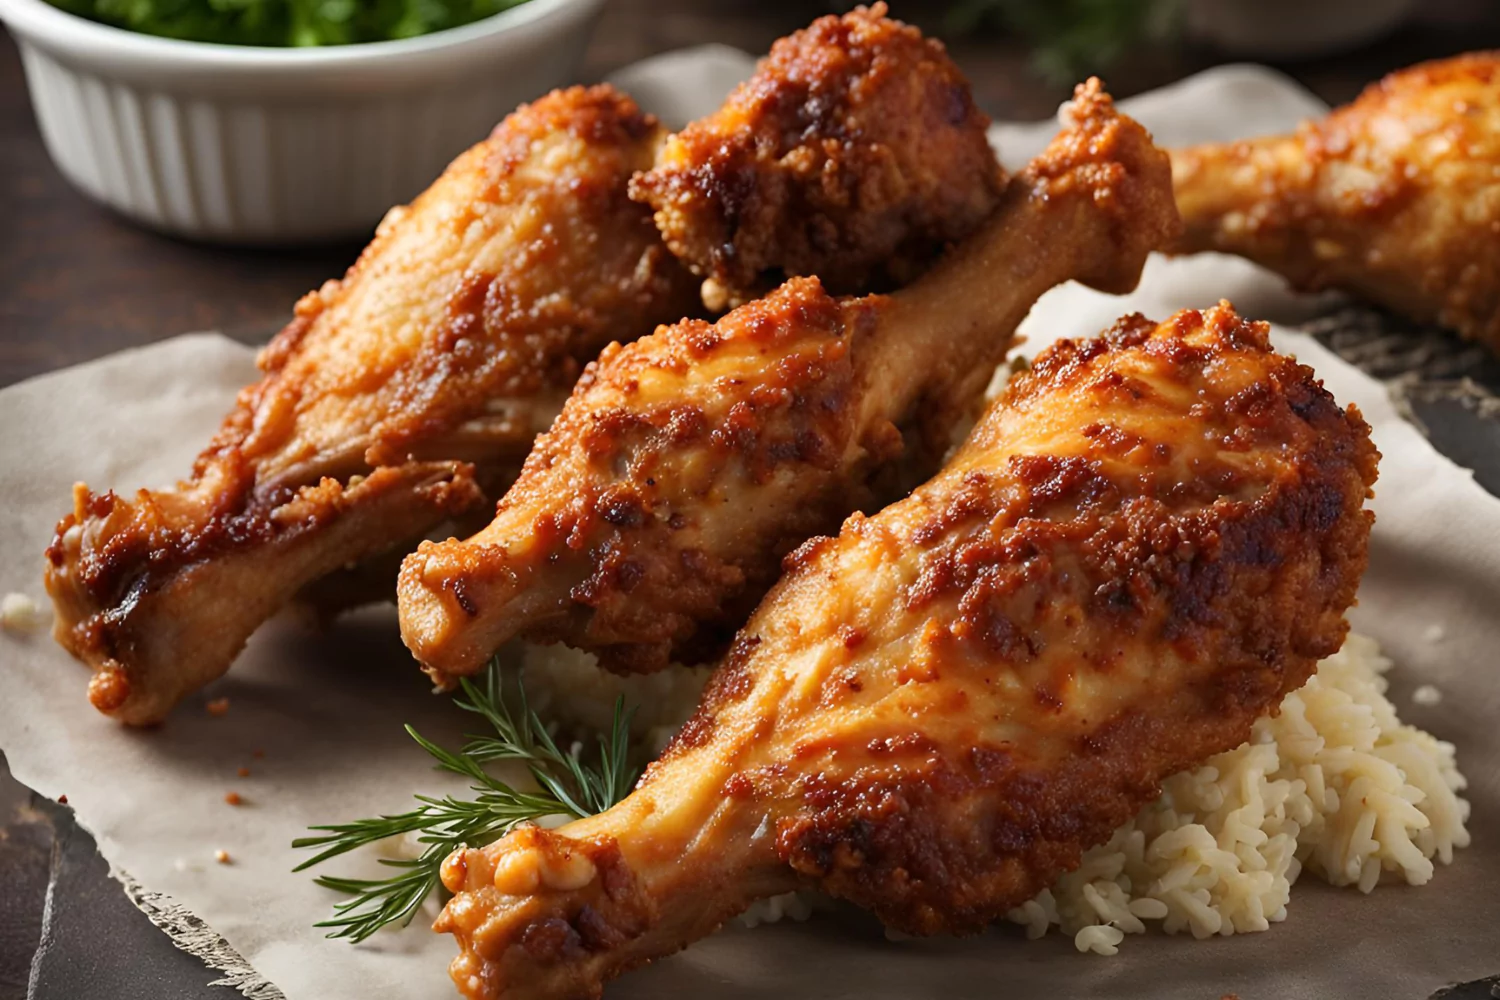
Serving Suggestions
Fried chicken is versatile and can be paired with a variety of sides. Here are a few ideas to make your meal complete:
- Classic Pairings: Serve your crispy chicken legs with mashed potatoes, coleslaw, or a fresh biscuit for a traditional Southern dinner.
- Lighter Options: For a healthier twist, opt for a side of steamed vegetables or a crisp green salad.
Now that your chicken legs are perfectly fried and ready to be enjoyed, let’s enhance the experience with some final touches and flavor enhancements in the next part of our guide. These tips will help you elevate your dish from good to great, ensuring a memorable meal every time.
Enhancing Your Fried Chicken Legs
Flavor Enhancements
To elevate the taste of your fried chicken legs beyond the basics, consider these flavorful additions:
- Marinades and Brines: Soaking chicken legs in a seasoned marinade or brine for several hours before frying can infuse them with extra flavors and moisture. Common ingredients include buttermilk, garlic, herbs, and spices.
- Spice Mixes: Experiment with different combinations of spices to create a unique flavor profile. Adding a bit of cayenne pepper or smoked paprika can give your chicken a nice kick.
Crispy Coating Techniques
Achieving a crispy exterior while keeping the inside juicy is the hallmark of perfect fried chicken. Here are some tips to enhance the crispiness:
- Dredging: Before frying, coat the chicken legs thoroughly in a mixture of flour and cornstarch. The cornstarch helps to create a lighter, crisper crust.
- Double Frying: For an extra-crispy texture, you can fry the chicken legs twice. Fry them once at a lower temperature to cook through, then increase the heat and fry again quickly to crisp up the exterior.
By incorporating these flavor enhancements and crispy coating techniques, you’ll ensure that your fried chicken legs are a hit, packed with flavor and boasting an irresistible crunch. Next, we’ll look at some common mistakes to avoid in the frying process to help you achieve consistent results every time.
Pitfalls in Frying Chicken Legs
Overcrowding the Fryer
One of the most common mistakes when deep frying is overcrowding the fryer. Here’s why it’s important to avoid this:
- Consistent Cooking: Overcrowding can lower the oil’s temperature, leading to longer cooking times and unevenly cooked chicken.
- Crispiness: More chicken in the pot can cause the pieces to stick together, preventing the crust from becoming evenly crisp.
Underestimating Preparation
Preparation is key to successful deep frying. Here are some prep steps you shouldn’t skip:
- Thorough Drying: After marinating or rinsing your chicken, make sure to pat it completely dry. Excess moisture can cause the oil to splatter, which is dangerous and can make your chicken soggy.
- Proper Heating of Oil: Use a thermometer to ensure your oil is at the right temperature before you start frying. This helps achieve a crispy finish and properly cooked interior.
By steering clear of these common pitfalls, you can ensure that your fried chicken legs are cooked to perfection every time. This careful attention to detail will make all the difference in achieving the ideal texture and flavor in your fried chicken. Next, we’ll address some frequently asked questions to help clarify any remaining aspects of frying chicken legs.
Advanced Frying Techniques for Perfect Chicken Legs
After mastering the basics of frying chicken legs, it’s worth exploring some advanced techniques to elevate your cooking even further. This section will delve into methods that can help you achieve exceptional results every time you fry.
Adjusting Oil Temperatures for Different Textures
- Layered Frying: This technique involves frying the chicken legs at two different temperatures. Start at a lower temperature (about 325°F) to cook the inside thoroughly without burning the outside. Then increase the temperature to 375°F for the last few minutes to crisp up the exterior. This method ensures the chicken is cooked through and ends with a satisfyingly crunchy crust.
Experimenting with Batter Variations
- Beer Batter: While avoiding alcohol in recipes, you can substitute non-alcoholic versions to create a light, airy batter that provides a unique texture to the chicken coating.
- Tempura Style: Inspired by Japanese cooking, using a tempura batter can give your chicken legs a lighter, crispier crust. This requires mixing cold water with flour and sometimes a bit of baking soda to create a thin, smooth batter.
Utilizing Frying Aids
- Baking Powder: A small addition of baking powder to your seasoning mix or flour dredge can help to create an extra crispy and bubbly skin due to the creation of tiny air pockets when it reacts with heat.
- Cornstarch: Incorporating cornstarch into your flour mix is another secret to achieving a crunchier and less greasy exterior. The cornstarch absorbs moisture and forms a crisp shell around the chicken as it fries.
These advanced techniques can help refine your frying skills and introduce new textures and flavors to your chicken legs. Whether you’re cooking for a special occasion or just spicing up your dinner routine, these methods are sure to impress. Enjoy experimenting with these tips to find your perfect frying method!
Frequently Asked Questions
How long should I fry frozen chicken legs?
If you’re starting with frozen chicken legs, it’s essential to thaw them completely before frying to ensure even cooking. Once thawed, follow the usual frying time of about 12-15 minutes at 350-375°F. Remember, always check that the internal temperature has reached 165°F with a meat thermometer.
Can I reuse frying oil, and if so, how?
Yes, you can reuse frying oil a few times if it’s strained and stored properly. Allow the oil to cool completely, then strain it through a fine-mesh sieve or cheesecloth to remove any food particles. Store the clean oil in a sealed container in a cool, dark place. Reuse it within a month and check for any off smells or excessive smoke before using it again.
What are the signs that the chicken legs are undercooked?
Undercooked chicken legs can pose serious health risks. Signs of undercooked chicken include:
- Internal Temperature: If the meat hasn’t reached 165°F, it’s not safe to eat.
- Visual Cues: Pink coloring near the bone or translucent, rubbery meat texture indicates it’s not fully cooked.
- Juices: If the juices aren’t clear and are still pink or red, the chicken needs more cooking time.
Employing these best practices ensures that your fried chicken legs are not only delicious but also safe to eat. By understanding these nuances, you can fine-tune your frying process and enjoy perfectly crispy chicken every time. This wraps up our guide, leaving you well-equipped to master the art of frying chicken legs. Enjoy your cooking adventure!
Conclusion
Congratulations! You are now equipped with all the essential knowledge to deep fry chicken legs like a pro. From selecting the right type of chicken and oil to mastering the cooking times and temperatures, you’ve learned the key steps to achieving crispy, flavorful fried chicken legs. Remember to experiment with different spices and marinades to personalize your dishes and find your family’s favorite flavors.
We hope this guide inspires you to create delightful meals that bring joy and satisfaction to your dining table. Whether you’re cooking for a special occasion or a casual weeknight dinner, perfectly fried chicken legs can make any meal a bit more special.
Enjoy the process and the delicious results of your new culinary skills—happy frying!